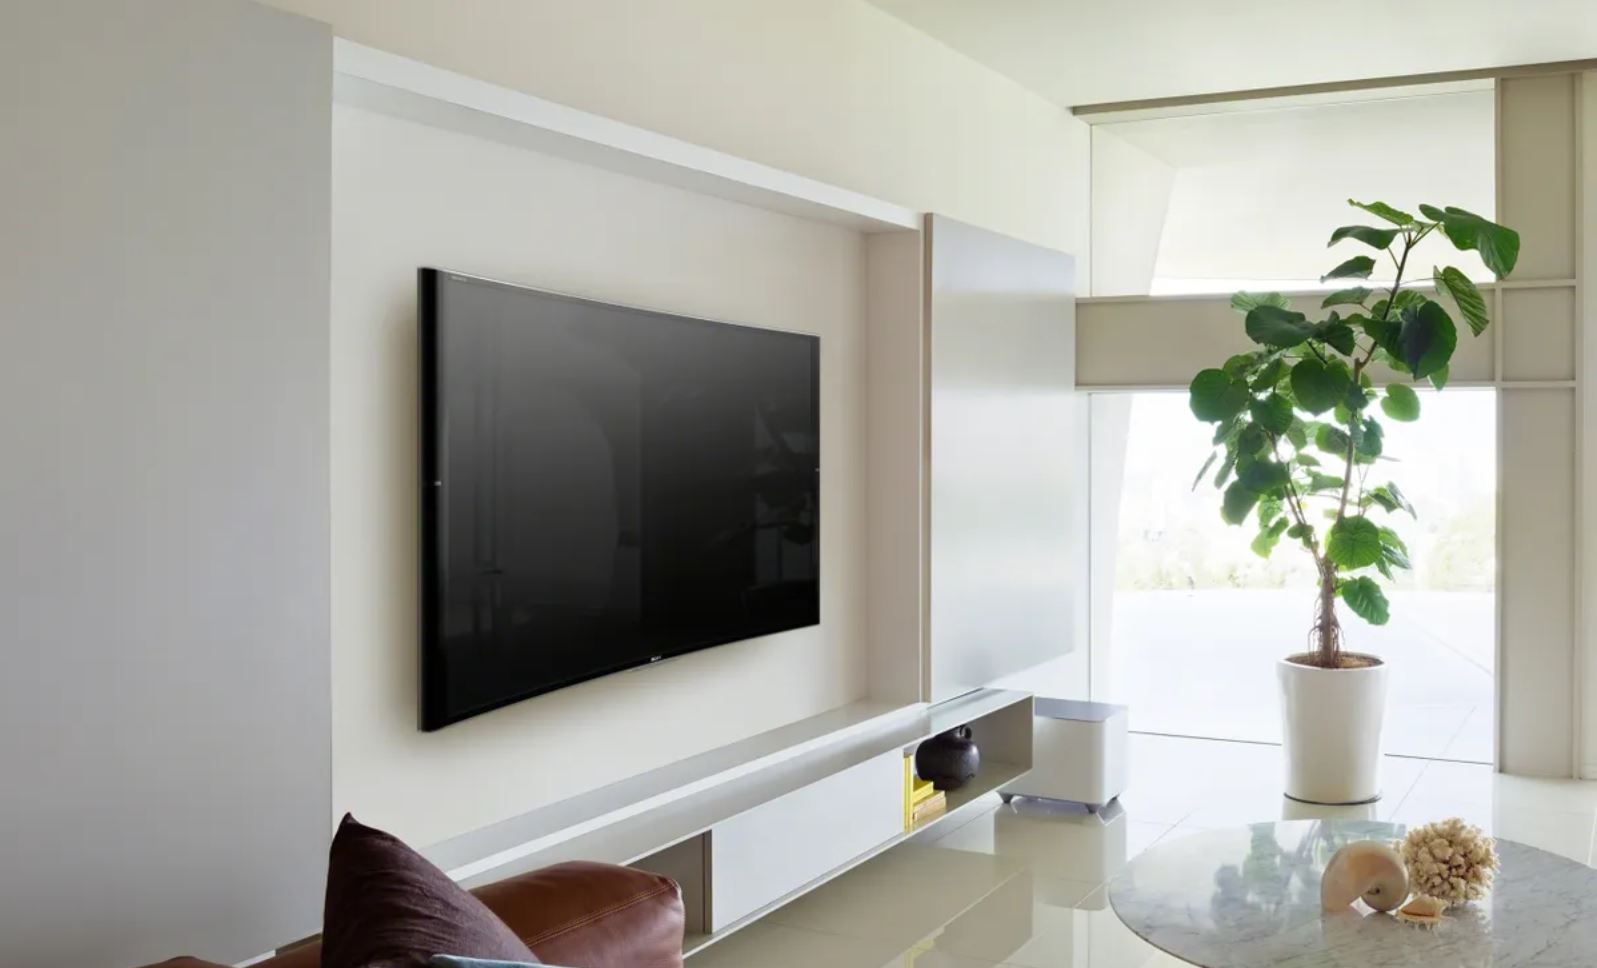
Mounting a TV on your wall can be a great way to save space and create a more streamlined and modern look in your home. However, it’s important to take the time to do it properly to ensure that your TV is safely and securely mounted. In this article, we’ll walk you through the steps of how to mount a TV, as well as what to avoid when mounting a TV to ensure a successful installation.
Step 1: Gather your supplies
Before you get started, you’ll need to gather all of the supplies you’ll need to mount your TV. Here’s a list of the supplies you’ll need:
- TV mount: You’ll need to purchase a mount that is compatible with your TV’s size and weight, as well as the type of wall you’ll be mounting it on. You can purchase a mount at a local electronics store or online.
- Screws and anchors: Your TV mount will come with screws and anchors that you’ll need to use to attach the mount to your wall. Make sure you have the right size screws and anchors for your mount and wall type.
- Screwdriver: You’ll need a screwdriver to attach the screws to the mount and the wall.
- Level: A level will help you ensure that your TV is straight and even when you mount it.
- Measuring tape: You’ll need a measuring tape to measure the distance between the holes on the back of your TV and the distance between the holes on the mount.
Step 2: Choose the right location for your TV
Before you start mounting your TV, it’s important to choose the right location for it. Consider the following when choosing a location:
- Viewing distance: The ideal viewing distance for a TV is based on the size of the TV and the resolution. You’ll want to sit at a distance from the TV that is appropriate for the size and resolution of the TV.
- Cable and power outlets: Make sure you choose a location that is close to a cable outlet and a power outlet. You’ll need to connect your TV to both of these in order to use it.
- Furniture: Consider the furniture in the room where you’ll be mounting the TV. You’ll want to make sure that the TV is at a comfortable viewing height for people sitting on the furniture.
Step 3: Install the mount on the wall
Once you’ve chosen the right location for your TV, you can start installing the mount on the wall. Follow these steps to install the mount:
- Hold the mount up to the wall where you want to install it and use a level to make sure it’s straight.
- Mark the locations of the holes on the mount onto the wall with a pencil.
- Use a stud finder to locate the studs in the wall. You’ll need to mount the TV to the studs in order to ensure that it is securely attached to the wall.
- Hold the mount up to the wall again and use a drill to attach the anchors to the wall. Make sure the anchors are securely in the wall.
- Attach the mount to the anchors using the screws provided. Make sure the mount is securely attached to the wall.
Step 4: Attach the TV to the mount
Once the mount is installed on the wall, you can attach the TV to the mount. Follow these steps to attach the TV to the mount:
- Place the TV face down on a soft, flat surface to protect the screen.
- Locate the mounting holes on the back of the TV. These are the holes that you’ll use to attach the TV to the mount.
- Measure the distance between the holes on the back of the TV and the distance between the holes on the mount. Make sure that the holes on the mount are spaced the same distance apart as the holes on the back of the TV.
- Hold the TV up to the mount and line up the holes on the back of the TV with the holes on the mount.
- Attach the TV to the mount using the screws provided. Make sure the screws are tightened securely.
- Once the TV is attached to the mount, use a level to make sure it is straight.
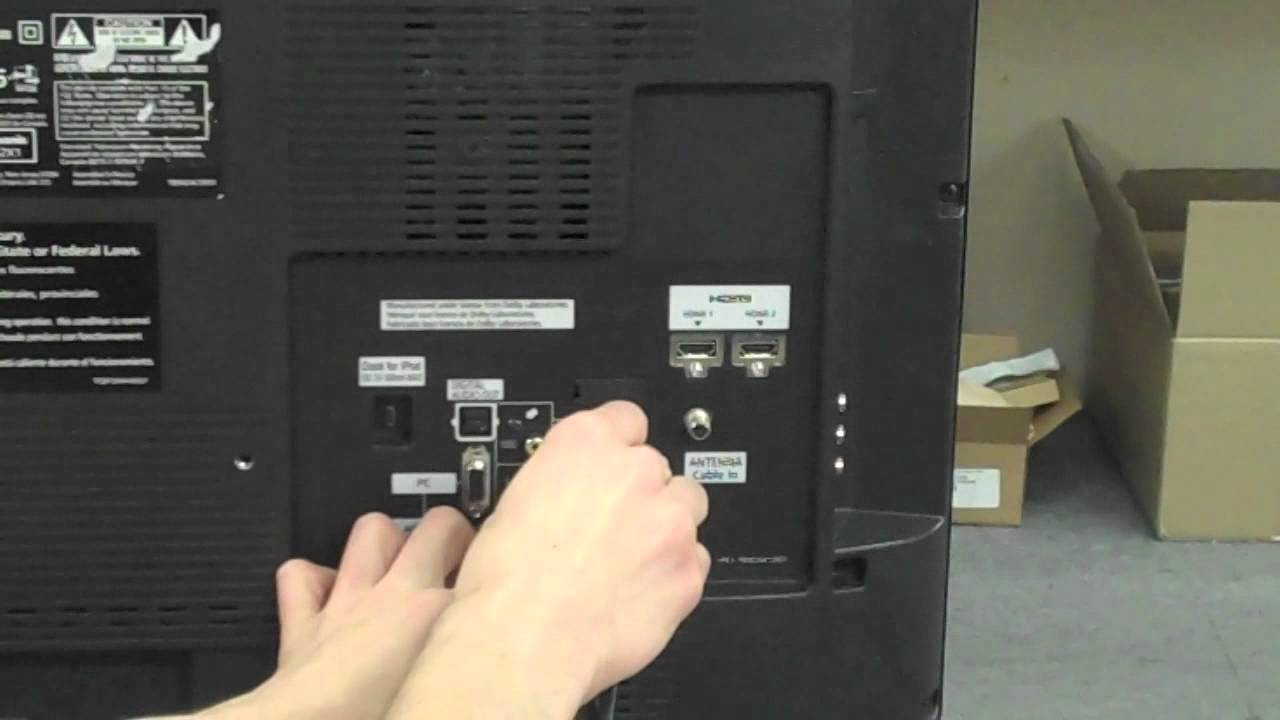
Step 5: Connect cables and power
Once the TV is mounted on the wall, you’ll need to connect the cables and power. Follow these steps to connect the cables and power:
- Connect the power cord to the back of the TV and plug it into a nearby power outlet.
- Connect the cable or satellite box to the TV using an HDMI cable.
- Turn on the TV and the cable or satellite box. Make sure the TV is set to the correct input so you can see the signal from the cable or satellite box.
- Hold the TV up to the mount and line up the holes on the back of the TV with the holes on the mount.
- Attach the TV to the mount using the screws provided. Make sure the screws are tightened securely.
-
Once the TV is attached to the mount, use a level to make sure it is straight.
Step 6: Avoid potential problems
When mounting a TV, it’s important to avoid potential problems that could cause damage or injury. Here are some things to avoid:
- Don’t mount the TV too high or too low: Make sure the TV is mounted at a comfortable viewing height for people sitting on the furniture in the room. If the TV is mounted too high or too low, it can cause neck strain and discomfort.
- Avoid mounting the TV near windows: Direct sunlight or bright artificial light can cause glare on the screen, making it difficult to see.
- Avoid mounting the TV near water: If the TV is mounted in a bathroom or near a kitchen sink, it could be damaged by water.
- Avoid mounting the TV over heat sources: Heat sources such as radiators or fireplaces can cause the TV to overheat and malfunction.
- Avoid mounting the TV over electrical outlets or wires: If you mount the TV over electrical outlets or wires, it could be dangerous if the wires become exposed or the TV falls.
By following these steps and avoiding potential problems, you can successfully and safely mount your TV on your wall. With a little bit of planning and attention to detail, you can create a stylish and functional setup for your home entertainment system.


